Introduction
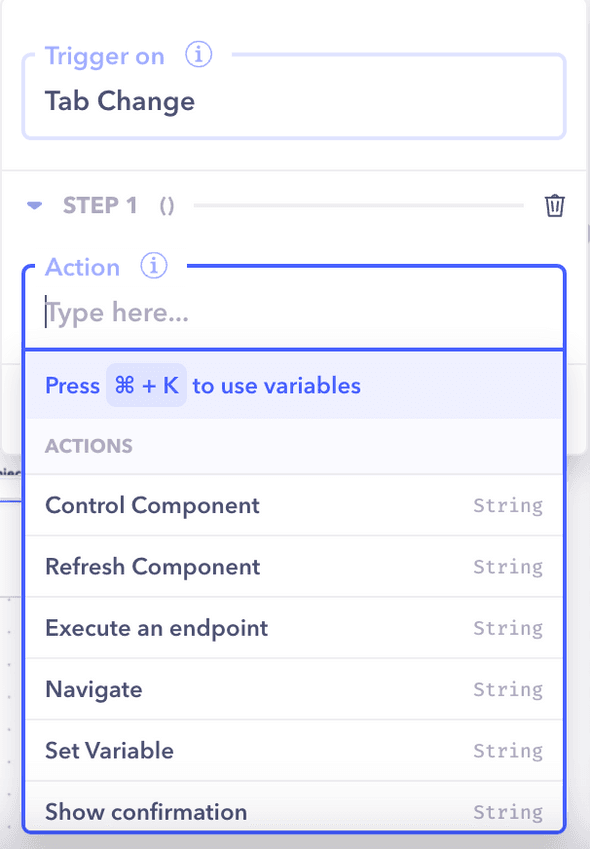
Action triggers are used to perform various operations based on certain triggers such as click or change. They are a powerful way to make your tools more interactive and productive.
Each component comes with it's own set of features based on the component's functionality. Let's go over all of the actions available to trigger.
Creating an action trigger
- Select the component for which you want to add the action trigger.
- In the properties panel, under the action triggers section, click on
+ Action Triggerto add a new trigger. - Select the action to trigger on (Click / Change / Right Click) etc.
- Configure the action
Adding multiple actions
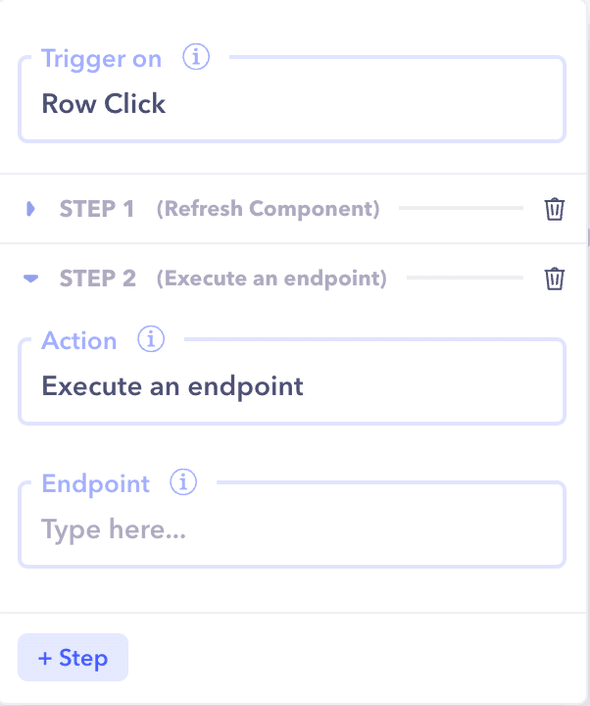
Most triggers require multiple actions (example: ask for confirmation → execute an endpoint → show success alert). You can achieve this by creating a multi-step trigger.
Simply click on the + Step on the trigger configuration panel to configure an additional action.
Note: All actions are executed in order, if an action fails, an alert is shown and no further actions are executed.
Action: Control Component
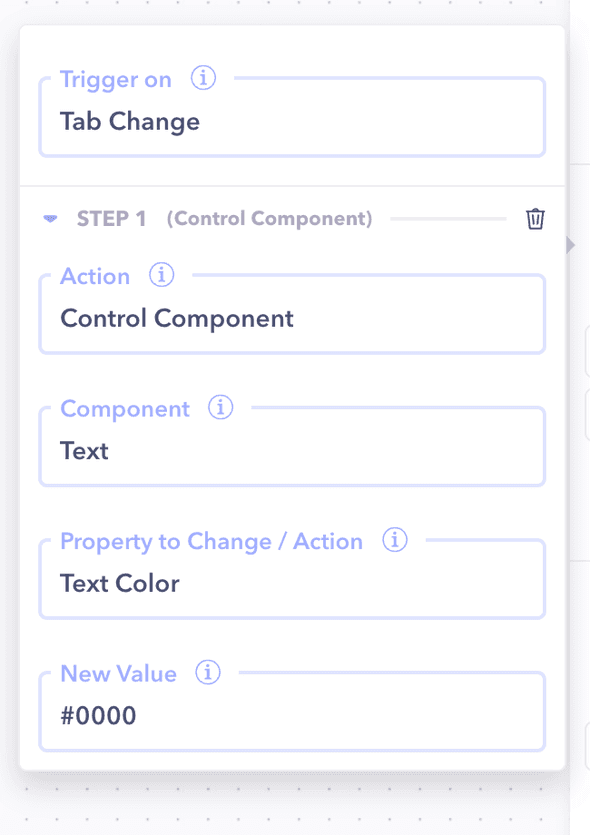
The control component handler allows you to modify the behaviour of other components on the page. You can perform actions such as dynamically selecting a row in a table or automatically filling a form on the click of a button.
Creating a control component action
- Add a new trigger action to a component with the desired trigger.
- Select the
Control componentaction - Select the component property that you want to modify
- Set the value that you want to set for that property when the trigger executes.
Notes
- Only components on the current page can be selected.
- You can add a dynamic value to be set using Javascript expressions
Action: Refresh Component
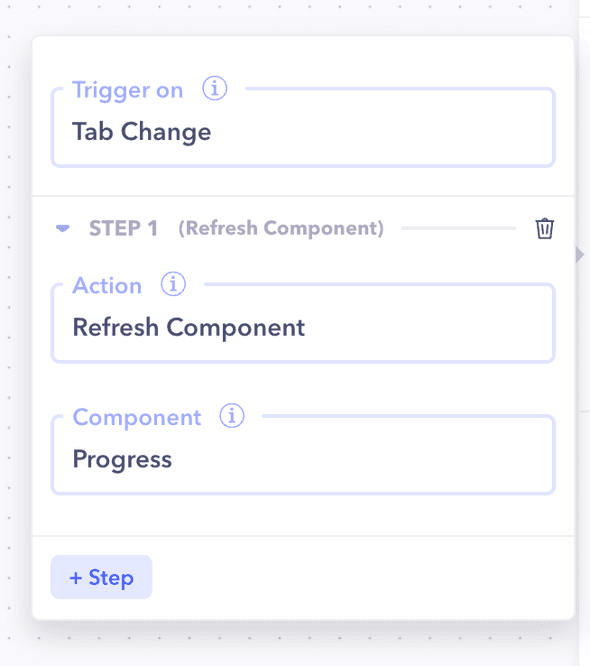
Sometimes you want to refresh the properties of a component so that they get the latest data from any dynamic sources.
For example, you might want to refresh the contents of the table after adding a new entry to it.
Creating a refresh component action
- Add a new trigger action to a component with the desired trigger.
- Select the
Refresh componentaction - Select the component property that you want to refresh
Notes Only components on the current page can be refreshed.
Action: Execute an endpoint
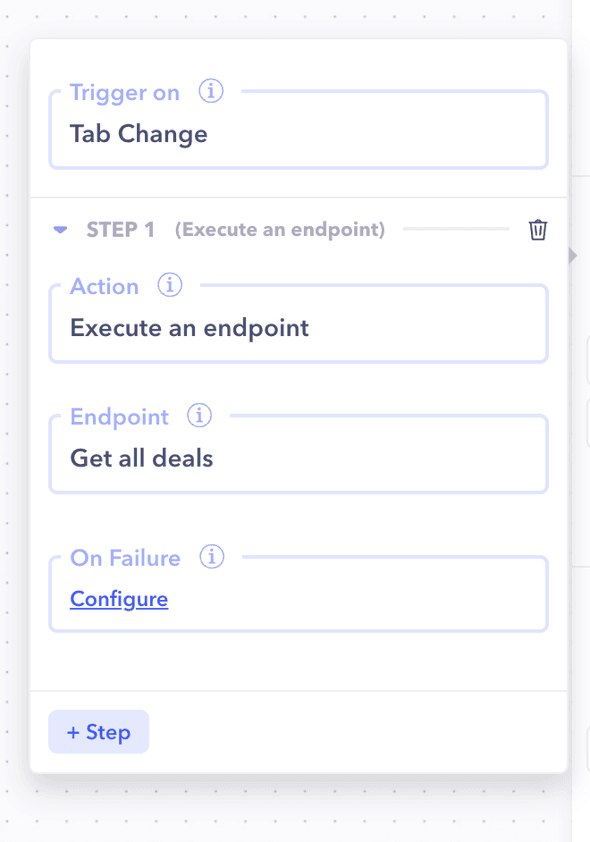
One of the most common actions performed is executing an endpoint. You can execute any of the endpoints created in your current project.
For example, making an api call to save form details on the click of a button.
Creating an execute an endpoint action
- Add a new trigger action to a component with the desired trigger.
- Select the
Execute Ednpointaction - Select the endpoint that you want to execute
- If the endpoint is configured with inputs, you can specify them as well. They accept dynamic values.
Notes If an endpoint fails to execute, an automatic alert is shown to the user.
Action: Navigate
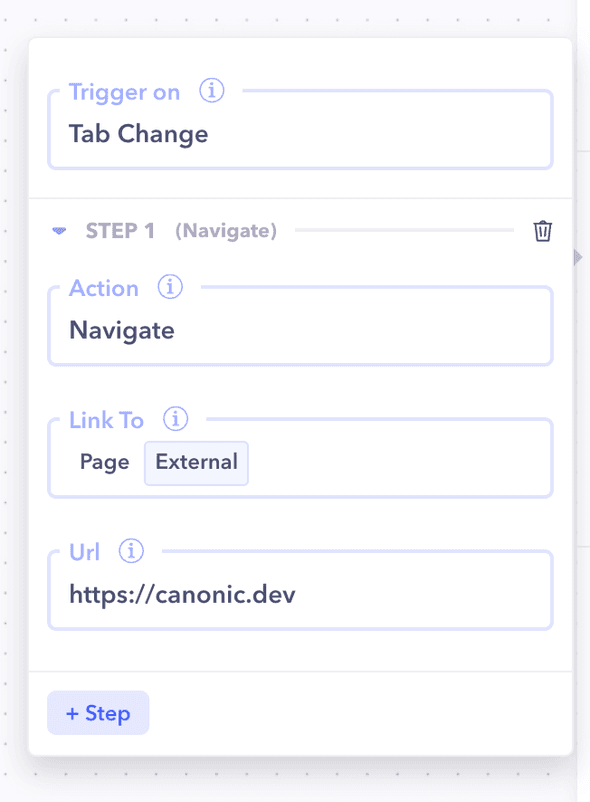
This action allows you navigate between different pages of your app as well as external urls.
Creating a navigate action
- Add a new trigger action to a component with the desired trigger.
- Select the
Navigateaction - You can either navigate to a page within your app or a url
- If you're navigating to another page on your app, you can also set page parameters to pass data between pages. This is particularly useful navigating to a details page from a list view.
Notes This action does not execute when editing on the canvas. Preview the app to trigger this action.
Action: Set Variable
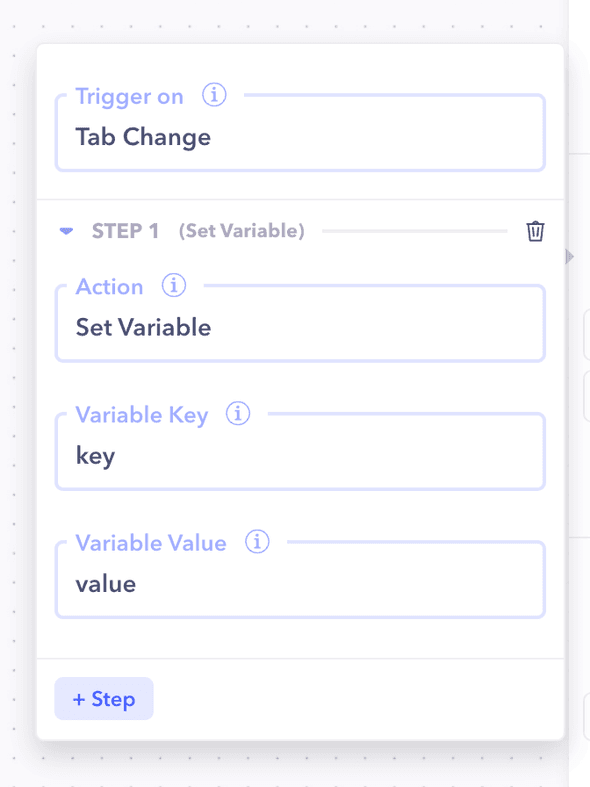
Use this action to set reusable variables and store some temporary data on the user's browser. These variables can then be used by other components.
Creating a set variable action
- Add a new trigger action to a component with the desired trigger.
- Select the
Set Variableaction - Set the name of the variable and then set it's new corresponding value.
- When this action executes, it replaces the previous value if it exists with the new one.
Notes These variables are temporary and disappear when the page is refreshed.
Action: Show confirmation
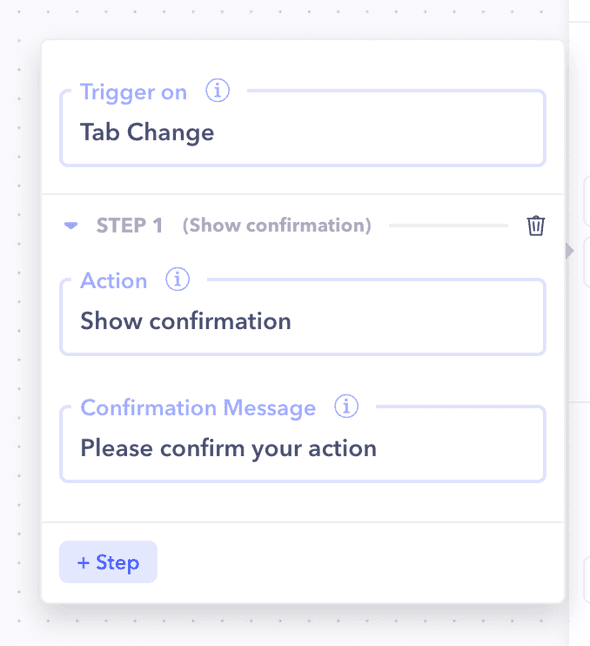
This allows you to show a confirmation message to the user before continuing on to the next step. If the user denies the action, then no the execution stops and no further steps are executed.
Creating a show confirmation action
- Add a new trigger action to a component with the desired trigger.
- Select the
Show confirmationaction - Set the confirmation message to be shown. It can be a dynamic value.
- When this action executes, The user is shown a confirmation dialogue with the message that was set.
- If the user confirms, the next step is executed for the trigger.
Notes If no steps are present after this action, the confirm button acts the same way as the cancel button.
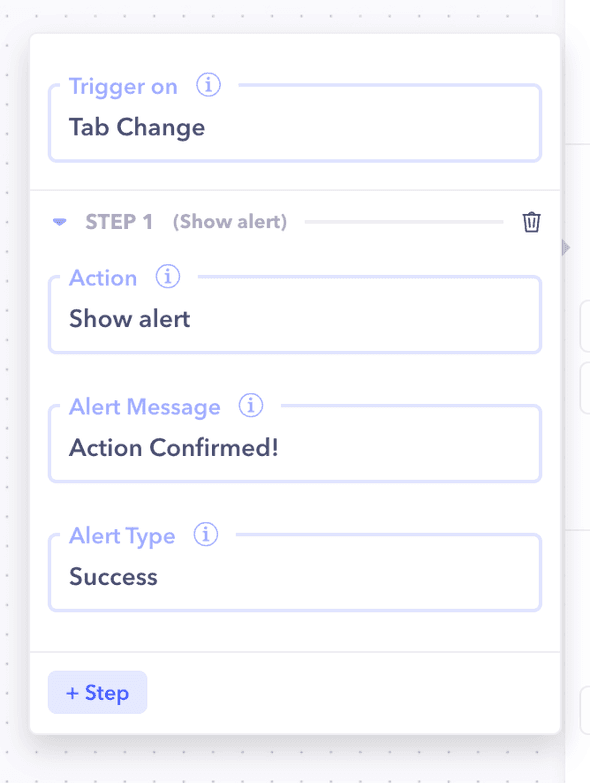
Action: Show alert
This allows you to show a temporary alert to the user. It can be used to convey a success or error message after another previous step completes.
Creating a show alert action
- Add a new trigger action to a component with the desired trigger.
- Select the
Show alertaction - Set the alert message to be shown. It can be a dynamic value.
- Set the alert type to be shown. It can be either
SuccessorError. - When this action executes, The user is shown a temporary alert with the message and type that was set.
Notes You can refer to the previous steps results with
{{steps[STEP_NUMBER]}}where STEP_NUMBER is the step number for which you want to get the data for.
